
Your first sound starts here
How to Get SoundOut of a Ney
Begin with a comfortable position and a focused stream of air. Explore clear visual explanations and practical adjustments to help you find a repeatable Persian ney tone.
A simple picture of the process
Air meets the edge
The ney begins to speak
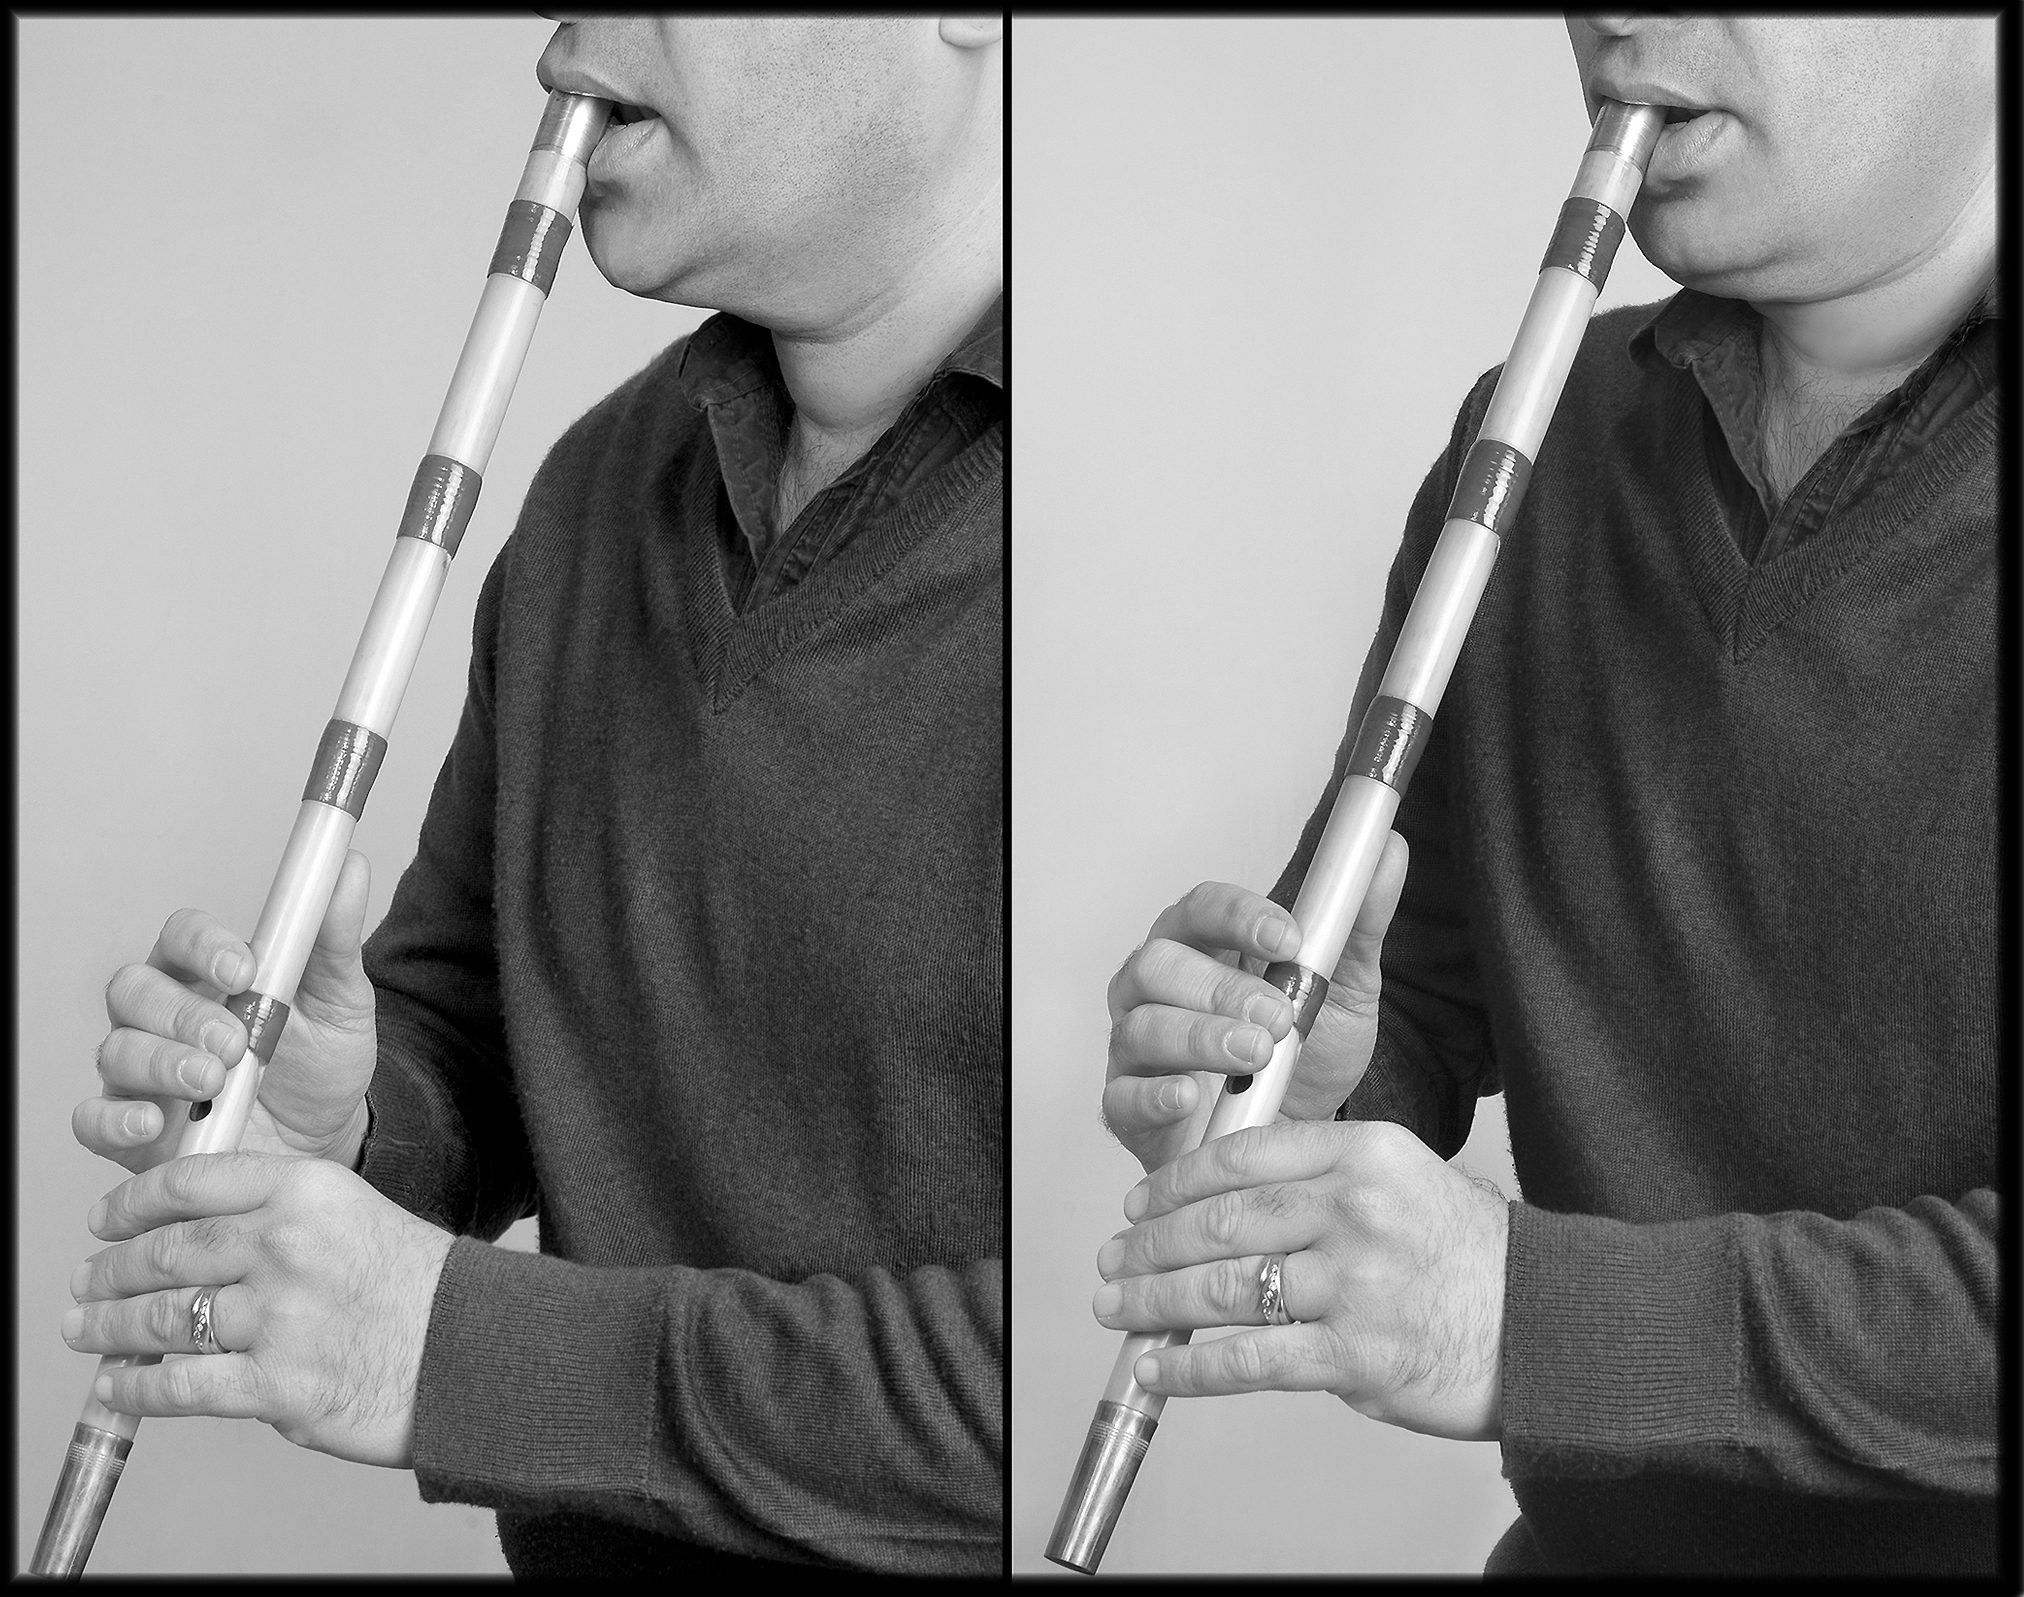
In Persian interdental playing, the tongue helps guide a narrow stream of air toward the mouth-end rim. When the air stream interacts with the edge and the resonances inside the tube, a sustained tone can form.
Begin with an easy breath. The tongue and mouth shape the air stream; the goal is direction and control, rather than simply blowing harder.
Inside the playing position
Mouth, teeth & the blowing rim
These two sketches separate the main relationships. The rim sits inside the lips at the upper front teeth; the tongue helps shape the air stream toward it. They are orientation drawings, not an exact model of your mouth.
01 · Front view
Locate the upper rim
The drawing exaggerates spacing so the contact area is visible.
02 · Side view
Direct the air toward the edge
This drawing shows the tongue-tip-at-rim approach. Other tongue positions are also used in Persian ney playing.
There is no need to force a gap between your teeth or force the instrument against them. If the position is uncomfortable, stop and ask for individual guidance.
Seated or standing
Make room for a comfortable breath
Choose a supported position that lets your arms move freely. Bring the ney to your mouth without repeatedly lowering your head or lifting your shoulders.
01 · Seated
Sit tall without becoming rigid
02 · Standing
Balance before you begin
The drawn instrument angles are examples, not measurements. Your ney length, reach and preferred hand arrangement affect the position.
Position · Direction · Repeatability
Find your
first Persian ney tone
The interdental technique used in Persian classical ney playing combines the position of the blowing edge, the tongue and the airflow. Keep your attempts gentle and make one small adjustment at a time.
Settle the instrument
Bring the upper rim of the sari between the upper front teeth, inside the lips. Support the ney gently and keep your lips relaxed. Avoid forcing the rim against your teeth.
Focus an easy breath
Use your tongue to help direct a small stream of air toward the blowing edge. Begin with an easy breath. Focus on where the air meets the rim.
Move in small steps
Slightly adjust the angle or mouth position, then try again. Keep your fingers still while testing the airflow, using the fingering demonstrated by your instructor.
Find the tone again
When a tone appears, notice what stayed comfortable and steady. Rest, reset and try to reproduce it. Build consistency before attempting longer notes or register changes.
The sari is the protective sleeve at the mouth-end of the ney. Mouth shapes and instruments differ, so a demonstration and individual feedback can help you find a suitable position.
Make your next attempt more focused
What are
you hearing?
Choose the closest description to see a useful practice focus. Keep the adjustments small and give yourself time to notice what changes.
Your next practice focus
Find the edge of the tone
Hearing air at first is common. Keep the breath easy and work on the direction of the air meeting the rim.
- Keep the ney supported and your fingers still
- Try a very small change in angle, then repeat with the same easy breath
- Reset between attempts so you can recognise a useful change
Focus: change one part of the position, then listen carefully to the result.
Steady hands · Focused sound
Give your sound
a stable foundation
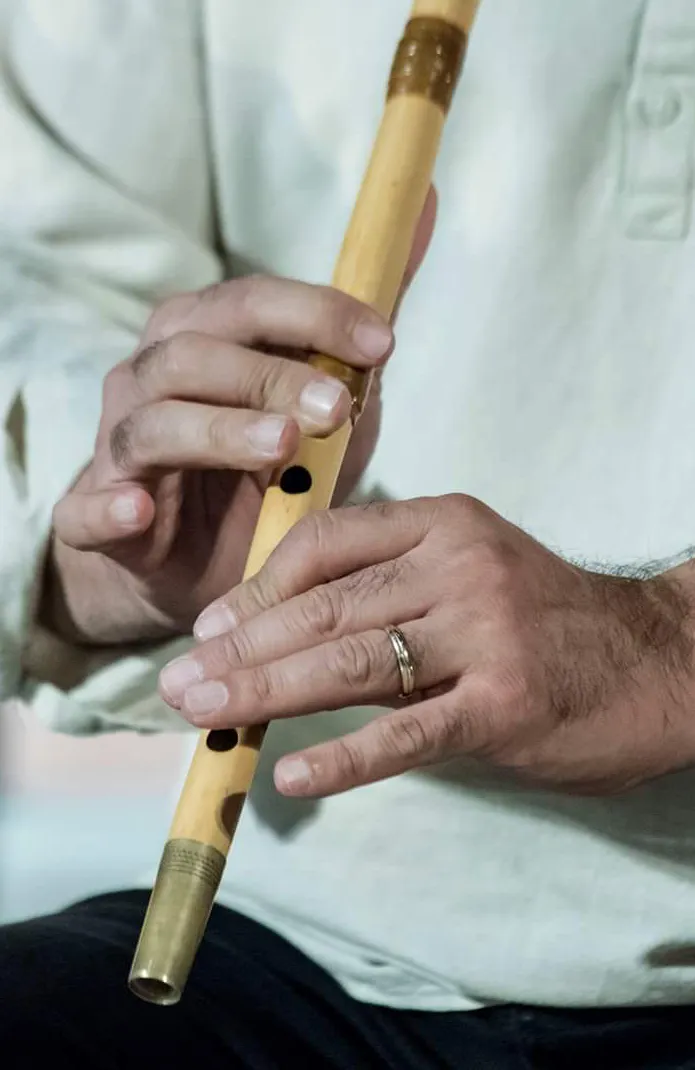
While you explore the blowing position, keep the instrument supported and the fingering unchanged. This makes it easier to hear what your airflow adjustment actually does.
- Support without squeezingKeep your shoulders and hands comfortable. A tighter grip does not create a clearer tone.
- Keep one fingeringUse the position shown by your instructor. Changing holes and airflow together makes the result harder to understand.
- Check each covered holeOnce a tone appears, make sure the intended closed holes are sealed. A leak can affect the note and its response.
- Move one finger at a timeBegin connecting notes only when you can return to the same tone comfortably.
One instrument · Two coordinated hands
Hold securely
Leave the fingers free
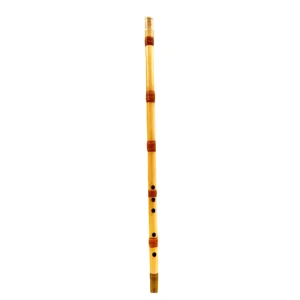
A Persian ney has five front finger holes and one back thumb hole. These separate front and rear views explain the layout; they are not a chart for a particular note.
01 · Front of the ney
Relax the fingers around the holes
The front holes are grouped three above and two below. The lower hand shows three fingers; there is no hole beneath its middle finger. Transparent outlines keep the holes visible; hand sides are illustrative.
02 · Back of the ney
Notice the thumb separately
One rear hole is shown separately so it cannot be mistaken for an extra front hole.
Small movements · Clearer feedback
Seal the hole
Then move with control
When you are testing sound production, keep the fingering unchanged. Once the tone is repeatable, practise a small finger movement while keeping the ney supported.
01 · Explore the contact
A covered hole needs a seal
02 · Finger movement
Lift only as far as needed
This detail shows three holes for clarity. It is a movement study, not a named note or fingering pattern.
Listen for useful changes
Recognise your next step
01 · First response
A trace of tone
A brief pitched sound within the air noise is useful feedback. Pause and notice the position. Try to find it again with the same fingering.
02 · Repeatability
The same sound again
Several comfortable starts tell you more than one unusually long note. Listen for a similar pitch and tone each time.
03 · Control
A deliberate ending
End the note before the breath feels strained. Gradually connect an even beginning, middle and ending without chasing volume.
A clear routine for beginners
One focused practice cycle
Repeat this sequence at your own pace. The checklist records what you have explored in this visit; it does not assess your sound or use your microphone.
Try · Rest · Repeat
- Settle: choose a comfortable posture and one familiar fingering.
- Try: make a short, gentle attempt. Listen for the smallest trace of a pitched tone.
- Rest: release the position and breathe normally.
- Compare: change one small detail, then try again. Keep a useful adjustment and let go of one that adds tension.
Take a break if you feel light-headed or uncomfortable. There is no need to practise to the end of your breath.
Your practice check
0 of 4 practice checks completed
Build on the first sound
Turn a first tone
into steady progress
Use the book to support independent practice or work with Kianoush for feedback on your sound, breath and technique.
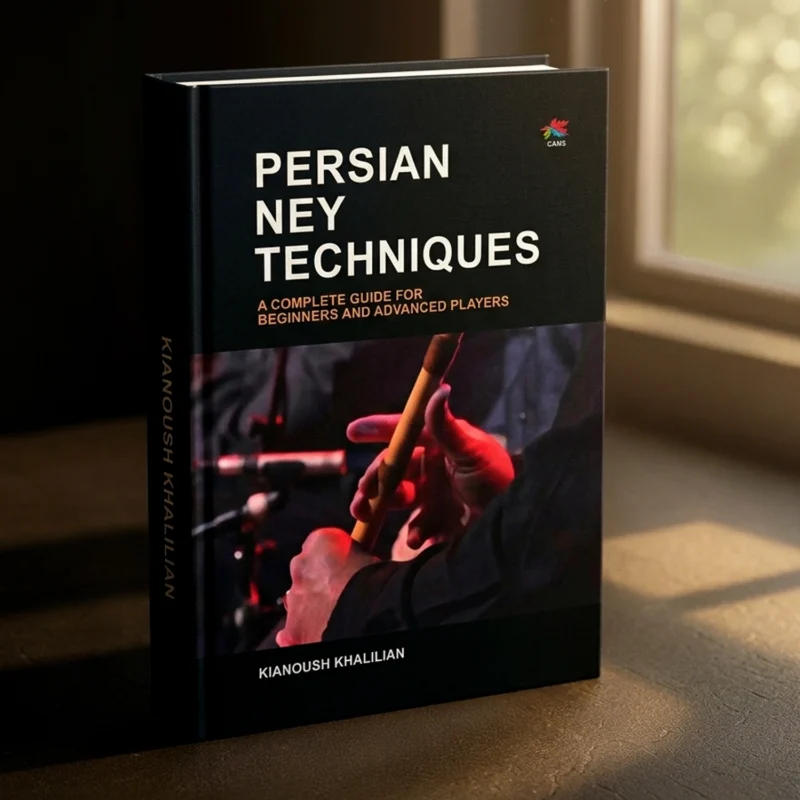
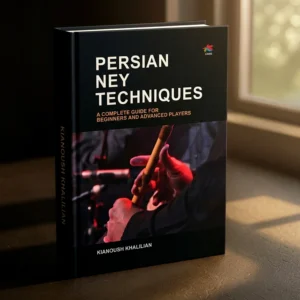
Persian Ney PDF Book
Step-by-step instruction, practical exercises and fingering charts for your ongoing study.
Download PDF book
Personal ney lessons
Work on the specific changes that help you build a more consistent sound and comfortable playing technique.
View the course guideA few helpful answers
Learning the
first sound
A small improvement is useful progress. Listen for a tone you can return to and let control develop gradually.
Ask Kianoush a questionShould I blow harder if I only hear air?
Start by checking the direction of the air and the position of the blowing edge. A more focused, comfortable breath is a useful starting point. Forcing more air can make it harder to notice the effect of a small adjustment.
How long does it take to get a sound from a ney?
It varies from person to person. Finding a first tone and reproducing it consistently are separate stages. Short, focused attempts and clear feedback help you understand what to practise.
Is some breathiness normal at the beginning?
An early tone may contain a lot of air sound. Work on making it repeatable and steady. As your control develops, you can refine the balance of breath and tone with your instructor.
Which ney should I start with?
Discuss G (Sol), F (Fa) or F♯ (Fa♯) with your instructor. The right choice also depends on finger reach, comfort and your musical goals. A suitable instrument should support your learning.